Microcement in Tampa: what it costs and how it's installed
Microcement runs $7–$15 a square foot on an open floor and $25–$35 in a shower, applied right over your existing tile. What drives the price, how it's installed, and why Tampa's humidity changes everything.
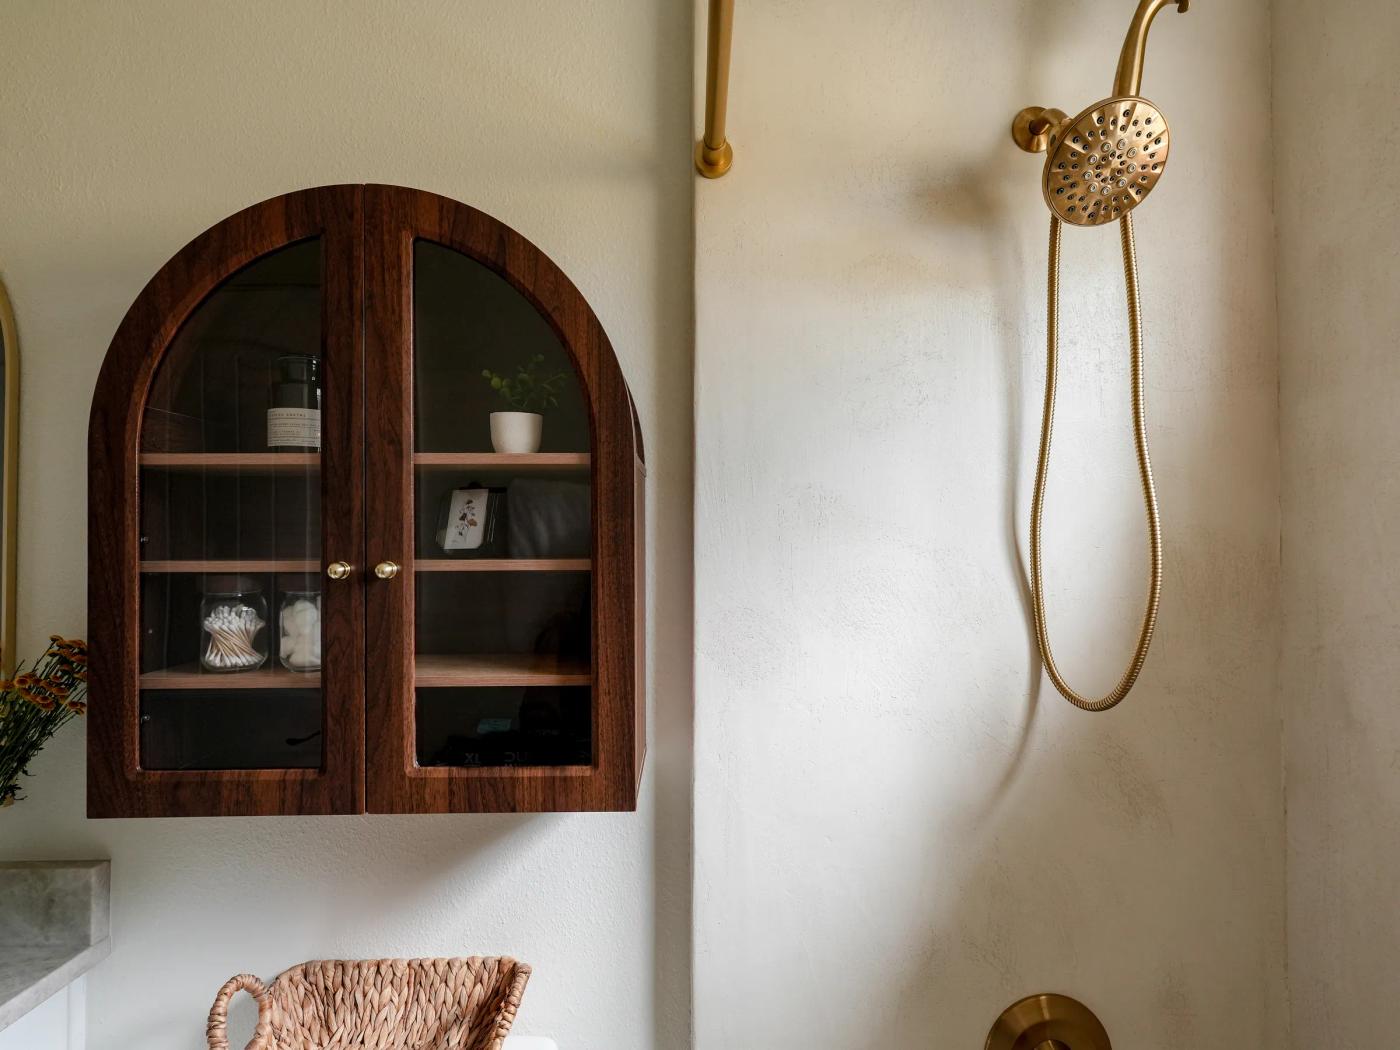
Microcement is a cement-based coating about 2 to 3 millimeters thick, applied by hand in thin layers over an existing surface and then sealed. It is not a slab, not tile, and not paint. It cures to one continuous surface with no grout lines anywhere in it.
Price is set by which surface it goes on, and that tracks complexity rather than area. Cost per square foot falls as the area grows and rises with the number of corners, planes and penetrations — the opposite of most finishes.
These are starting ranges before anyone has looked at your substrate. Five things move the number from there, and only one of them is about the microcement itself:
- Existing tile is sound and stays in place: removes demolition and haul-off entirely
- Substrate needs repair, leveling or a moisture barrier: a separate line, quoted on site
- A small area: a small-job minimum applies — about $2,000 for a floor under 250 sq ft
- Shower detailing — niches, benches, curbs: the top of the range
- A food-safe sealer for a countertop: the top of the range
The reason people choose microcement is the absence of grout lines, and in a Florida bathroom that is more than an aesthetic preference. Grout lines are where water gets in and where mold grows. A seamless sealed surface removes the whole category of problem — which is why it shows up most often in showers, wet rooms and bathroom floors rather than living spaces.
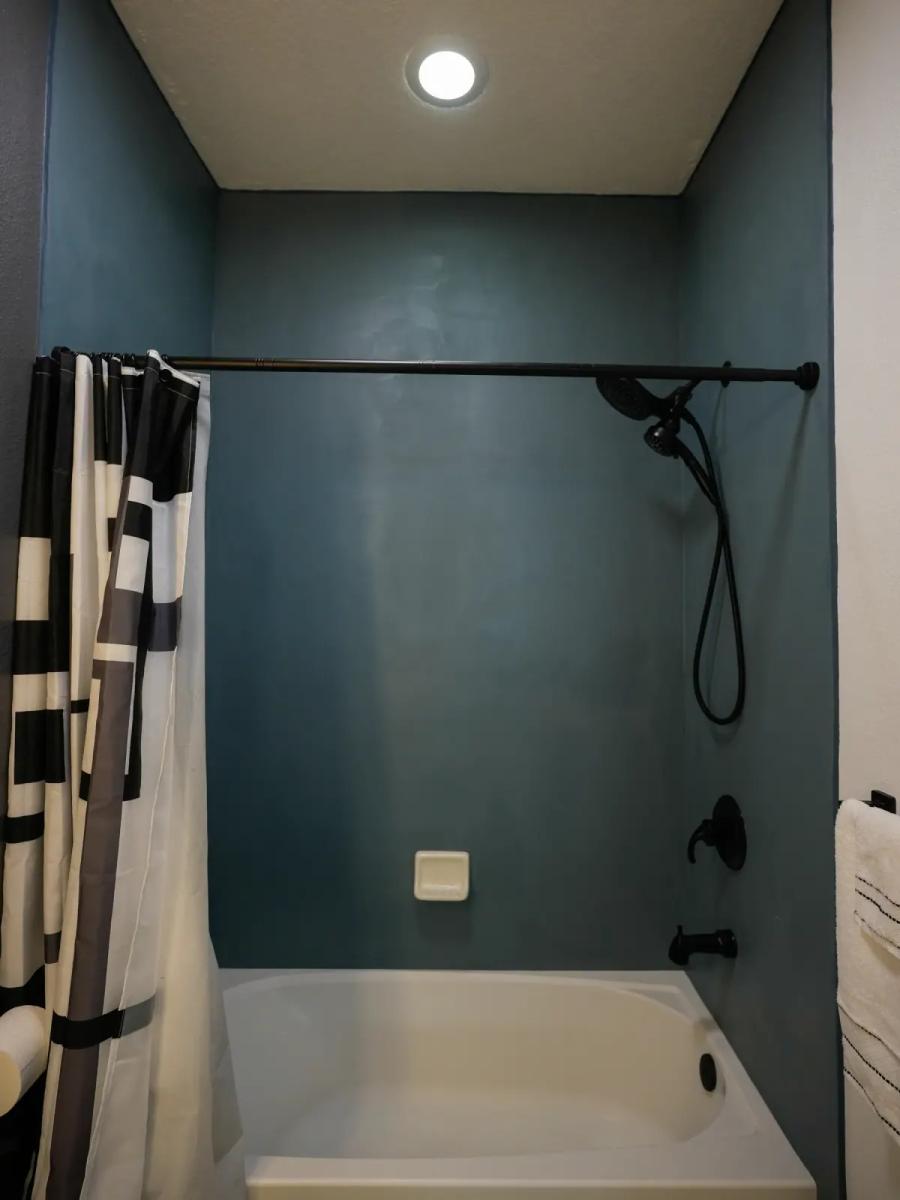
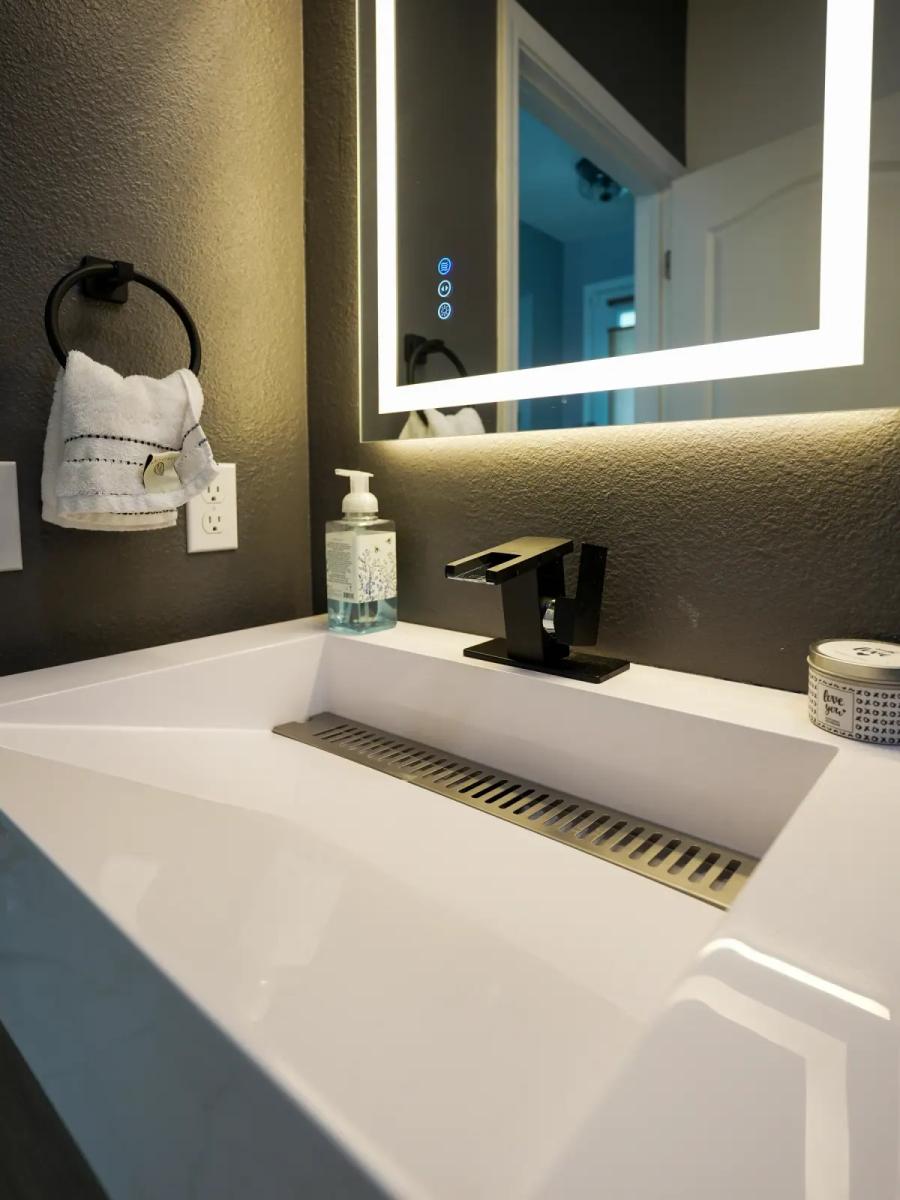
The second reason is that it goes over what is already there. Existing ceramic or porcelain tile does not come out. No demolition, no dumpster, no haul-off, and the room keeps its floor height within a few millimeters.
What actually drives the number
Microcement is priced by labor, not material. The material is a few dollars a square foot; everything else you are paying for is five stages of skilled application that cannot be compressed. This is the honest answer to why a small room costs what it does.
Preparation and priming
Preparation decides whether the finished surface lasts, and it is the stage most likely to change a quote. The existing surface is cleaned and degreased. Cracks, hollow tiles and level differences are repaired — and if a tile is drummy, it comes off, because anything that moves under the coating will crack it.
Then a bonding primer suited to that specific substrate. A primer for non-absorbent tile is not the same product as a primer for bare concrete, and using the wrong one is a failure that shows up months later.
Mesh and base coats
Fiberglass mesh is embedded over every grout line, corner and transition, then base coats go on in thin layers with the mesh fully encapsulated. Exposed mesh anywhere is a defect. Each coat is lightly sanded and the dust removed before the next.
The mesh is the part homeowners never see and never ask about, and it is the reason a microcement floor over tile doesn't telegraph the old grout lines in eighteen months.
Finish coats
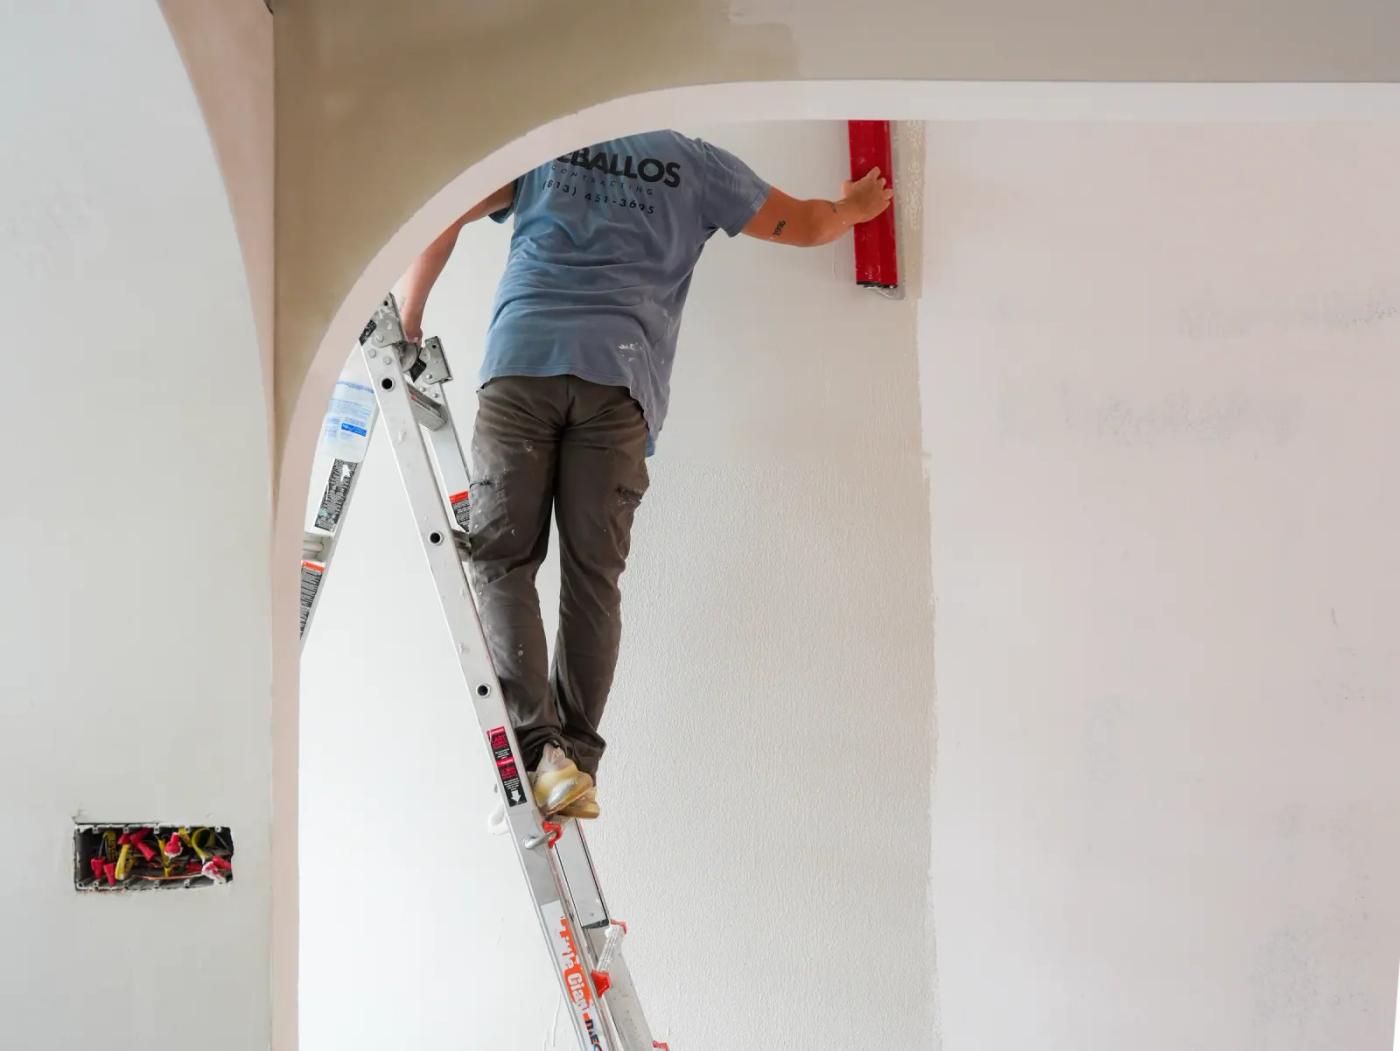
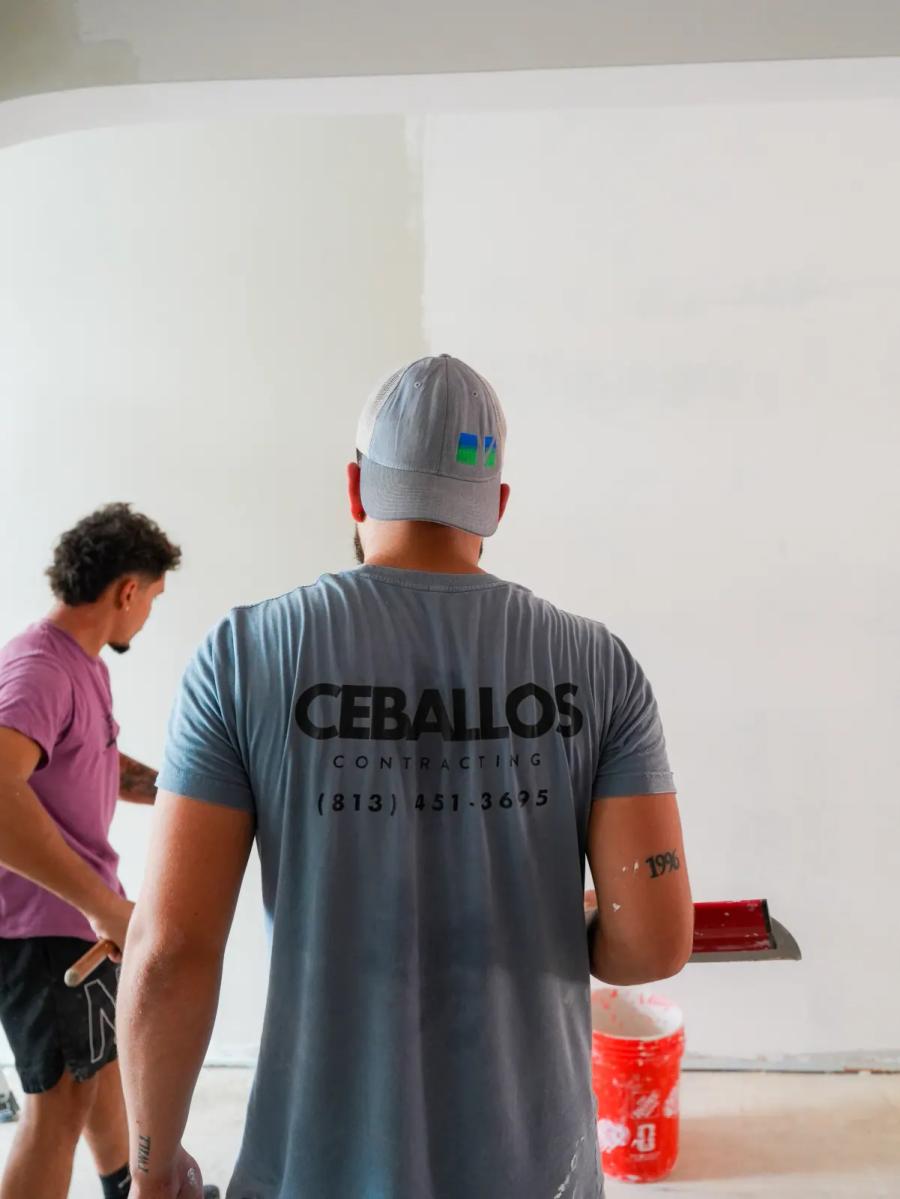
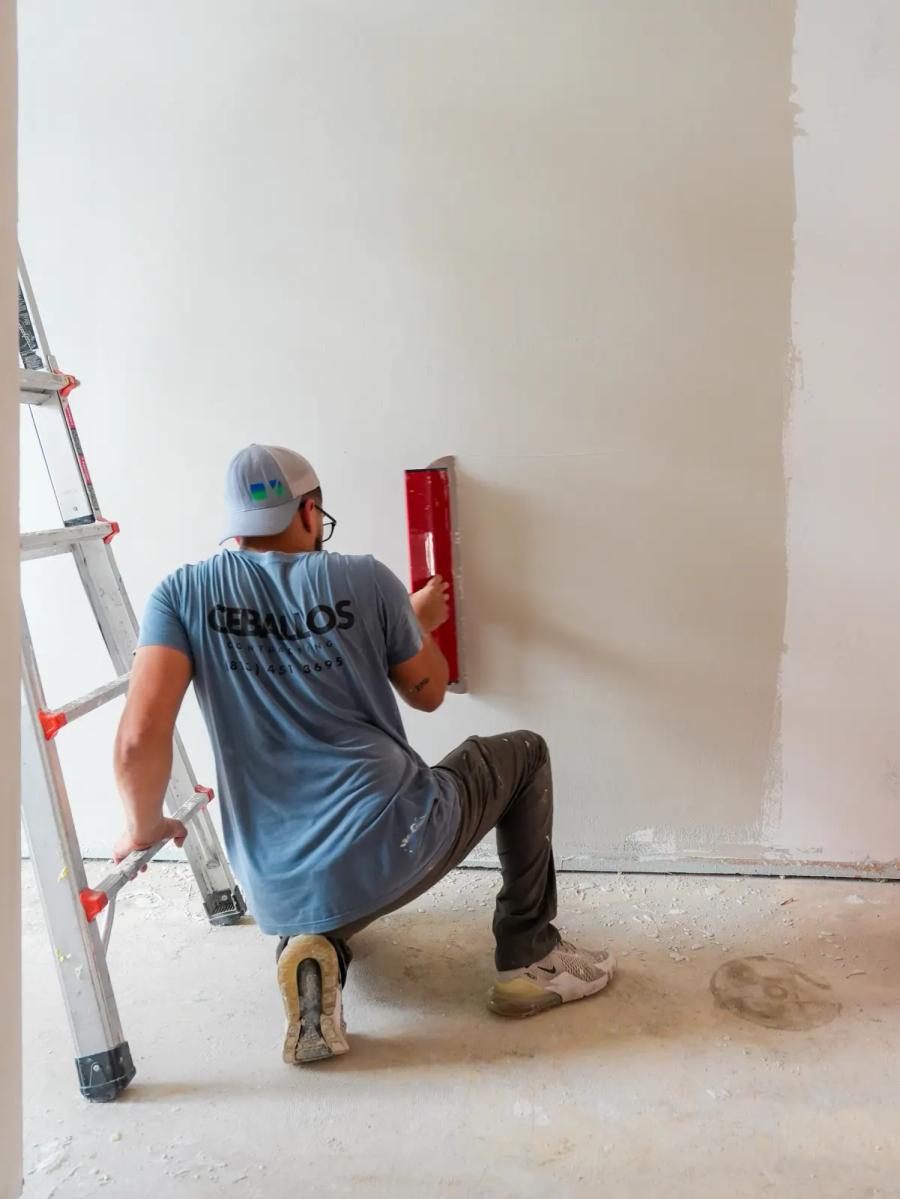
Two to three finish coats applied with controlled trowel pressure, and this is the stage where the material becomes a decision rather than a product. Texture and movement come entirely from how the trowel is worked. Two installers using identical material produce visibly different floors.
Ask to see a sample panel made by the person who will actually do your job — not a manufacturer's sample, and not a photograph of someone else's work.
Sealing, in two stages
Sealing is what makes microcement waterproof, and it is two distinct products rather than one. First an acrylic sealer acting as a pore-filling primer, typically two coats with a sanding pass between. Then a two-component polyurethane topcoat, also two coats.
Skip the polyurethane stage and you have a decorative surface, not a wet-area surface. If you are comparing quotes, ask each one to name the sealer system. A quote that says "seal" without specifying is not quoting the same job.
One hard constraint: the coating's moisture content must be below 5 percent before sealing. Seal over a surface that hasn't dried and you get veiling, bubbles and adhesion failure — visible, and not repairable without going back to bare substrate.
Curing
Light foot traffic after 24 to 48 hours. Furniture after about seven days. Those intervals are published at 65°F and 50 percent relative humidity, which in Tampa is the single most important caveat on this entire page — see the next section.
Where Tampa is different
National microcement guides are written as though climate were a footnote. Here it is the main variable, and it works against you in three specific ways.
Every published cure time assumes conditions Tampa doesn't have. Manufacturer intervals are specified at 65°F and 50 percent relative humidity. Tampa spends most of the year well above that, and humid conditions extend every interval below. The failures that follow from rushing them are not cosmetic — they are delamination and adhesion loss, and the repair is a strip-back to bare substrate.
Published intervals before the next stage starts — extend all of these in Tampa humidity:
- Prep, repair and prime: 30 minutes to 24 hours
- Base coats, per coat: 6–12 hours
- Finish coats, per coat: 6–12 hours
- Acrylic sealer: 4 hours, then 12
- Polyurethane topcoat: 12–24 hours
- Light foot traffic: 24–48 hours
- Furniture and full use: 7 days
The 5 percent rule is what catches Tampa homeowners. Microcement cannot go over a substrate holding more than about 5 percent moisture. If moisture is present, the source has to be found and eliminated first — and where a slab is wicking from below, that means an epoxy moisture barrier before any microcement goes down.
A moisture meter reading is not an optional courtesy on a Florida slab-on-grade home. It is the gate the whole job passes through, and it is where most Tampa microcement failures start: the material gets applied over a slab that tested wet, or was never tested at all, and it lifts.
Cracks in finished microcement always come from underneath. There is no exception to this. If a microcement surface cracks, the substrate cracked or a tile beneath it debonded. Which means the honest assessment happens before the quote, not during the job — and a contractor who quotes microcement from a photograph is guessing at the only thing that matters.
Slab-on-grade construction is also why this material fits here. Most Tampa homes have no crawlspace and no basement, so removing tile means chipping it off concrete — slow, dusty and occasionally damaging to the slab itself. Going over the top avoids all of it. Microcement suits Florida housing stock better than it suits most of the country, for precisely the reason that makes Florida bathrooms expensive.
Hurricane season is a scheduling factor rather than a material one. An active roof leak above a freshly sealed floor introduces water between the sealer and the coating and causes delamination. If the roof is questionable, it gets resolved first — and that is a conversation we would rather have in August than in October.
Should you do this yourself?
Materials for a DIY microcement job run roughly $10 to $30 per square foot against $15 to $35 installed. The saving is smaller than most people expect, because in this trade the material is cheap and the skill is the product. Here is the honest version of the risk, specific to doing it in Florida.
The trowel work is not learnable from a video. Texture and movement come from pressure and timing. A first attempt looks like a first attempt, and it looks like it across the entire continuous surface, because there are no grout lines to break up the eye. This is the opposite of tile, where a mediocre installation is unevenly mediocre and partially fixable.
The humidity window is unforgiving. Every interval extends in this climate and there is no visual signal telling you the surface is ready. Professionals test. A homeowner guesses, seals too early, and gets veiling and bubbles that cannot be fixed without stripping back to bare substrate.
The substrate assessment is the actual expertise. Knowing whether a slab will hold, whether a tile is drummy, whether a moisture reading means proceed or means find the leak first — that judgement is what you are paying for, and it decides whether the surface is still intact in five years.
Failure is total, not partial. A microcement floor that delaminates comes off and gets redone from the primer up. The DIY saving is a few thousand dollars against a redo costing more than the original job.
Microcement or tile?
Microcement wins on three things: no grout lines to fail or grow mold, no demolition and therefore no dumpster, and a floor height that stays within millimeters of what is there now. In a small Tampa bathroom the seamlessness also makes the room read larger.
Tile wins on two: a chipped tile is replaceable while a damaged microcement surface is a refinishing job, and every tile installer in Tampa can install tile while comparatively few can trowel microcement well.
If the existing tile is sound and you want the look, microcement is usually the better value. If the substrate needs work anyway, the demolition-avoidance advantage disappears and you should price both properly. We will tell you which one you are looking at.
Before you commit to anyone
We are not the cheapest microcement quote in Tampa and we do not try to be. What we will do is read the substrate before quoting anything — moisture reading, tile soundness, what is actually underneath — and put the number together from what is there rather than from a photograph.
And if the moisture test says microcement is wrong for your room, we will tell you that instead of selling it to you. That conversation is free and it takes an hour.
Who we are not right for
If you want a 300-square-foot floor done in a weekend for $2,000, that is not a job we can do to a standard we will put our license behind. You should know that from this page rather than after a walkthrough.
What it costs
| Item | Typical range |
|---|---|
| Open floor (per sq ft)Living area, hallway, whole floor · fewest corners and transitions | $7 – $15 |
| Bathroom floor (per sq ft)Small area, many edges, every fixture penetration detailed by hand | $20 – $30 |
| Shower walls and floor (per sq ft)Walk-in shower or wet room · multiple planes, niches, benches and curbs | $25 – $35 |
| Countertop (per sq ft)Vanity top or kitchen island · edge detailing plus a food-safe sealer | $25 – $35 |
Installed cost per square foot, before anyone has looked at your substrate. Repairs, leveling or a moisture barrier are quoted separately on site.
Get a range for your projectEric explains it
Short clips from the jobsite on exactly this.
Swipe for more →
Questions people also ask
Can microcement go over existing tile?
Yes, if the tile is sound. Hollow or loose tiles come off first, because anything that moves underneath will crack the coating. Fiberglass mesh goes over the grout lines so they don't show through later.
Is microcement waterproof?
Only when it's sealed properly: an acrylic sealer followed by a two-component polyurethane topcoat. Without the polyurethane stage it's a decorative surface, not one for a shower.
How long before I can use the room?
Light foot traffic after 24 to 48 hours and furniture after about seven days — at 65°F and 50 percent humidity. In Tampa's humidity every interval runs longer.